
Table of Contents
Installing hardwood floors can totally transform the look and feel of a room. The rich, warm glow of wood underfoot is a classic choice that adds beauty, value and character to any home. Though professional installation is ideal, with the right preparation and techniques, installing hardwood floors yourself can be rewarding and cost-effective.
As an experienced homeowner and DIYer, I’ve learned a lot about the process of installing hardwood floors over the years. In this comprehensive guide, I’ll share my best tips and expertise to help you install beautiful hardwood floors in your home with confidence.
Choosing the Right Hardwood
Solid vs. Engineered The first big decision is solid hardwood or engineered wood. Solid wood is milled from a single piece of timber. It can be sanded and refinished many times, offering longevity. Engineered wood has a top layer of solid wood bonded to plywood cores. It’s more stable and resists expansion and contraction but has limited refinishing capabilities.
Species
Oak and maple are popular choices and good for high-traffic areas. Exotics like Brazilian cherry offer rich colors but are more expensive and prone to denting. The hardness and look you want will guide your wood species selection.
Widths Narrow strip floors have boards 2 1⁄4” or less wide. Wide plank floors like 5″ widths have a more rustic vibe. Consider the size and layout of the room when deciding on board widths.
Preparing the Subfloor
Proper subfloor prep is crucial for a smooth, long-lasting floor.
Remove Existing Flooring
Pull up old carpeting, tile and flooring right down to the subfloor for an even surface.
Check for Moisture Excess moisture under the floor can cause warping and cupping. Test the subfloor moisture before installing.
Level Uneven Surfaces Use floor leveling compound to fill low spots for a flat subfloor.
Clean Thoroughly Vacuum and damp mop to remove all debris before laying new flooring.
Installation Methods
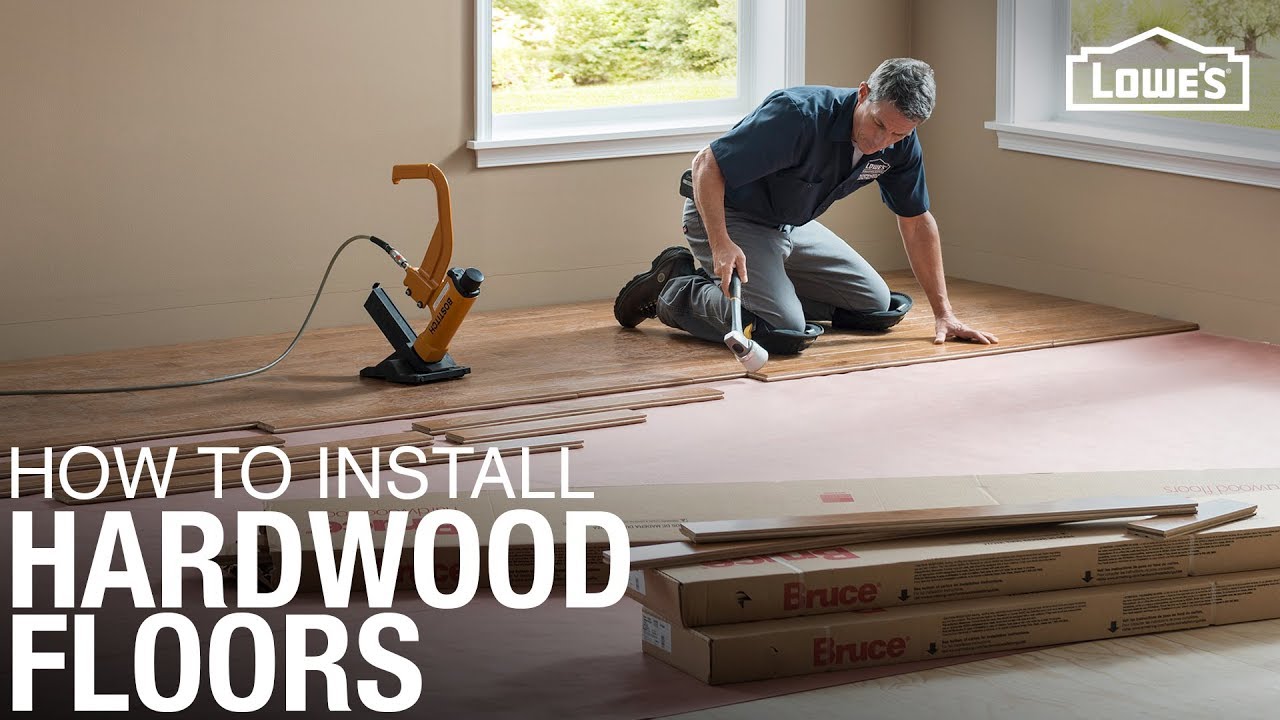
Nail or Staple Down
This traditional method secures boards directly to the subfloor with a nailing gun or stapler. It works for solid wood flooring up to 5/8” thick.
Glue Down Engineered wood planks are glued directly to the subfloor with wood flooring adhesive. No nailing needed.
Floating Floor Flooring planks lock together over an underlayment without nails or glue. This is a good DIY method for concrete subfloors.
Helpful Tools and Materials
Having the right tools and supplies makes the installation process easier.
- Moisture meter
- Table saw or miter saw
- Jamb saw for cutting door jambs
- Drill and drivers
- Nail gun or stapler with appropriate nails
- Compressor and hose for pneumatic nailers
- Tapping block and pull bar
- Wood flooring adhesive
- Underlayment padding
- Transition moldings like T-molds

Step-by-Step Installation Tips
With the prep work done, now the fun part begins – laying the flooring! Follow these steps for a smooth installation process:
Plan Your Layout
Map out your starter rows and pattern to minimize cuts and waste.
Start in a Corner
Lay the first row of boards against the wall with spacers for expansion.
Stagger Seams
Overlap planks randomly at least 6” from row to row for stability.
Use Proper Nailing Techniques
For nail down floors, use a nail gun and nails/staples of the appropriate size and spacing for the wood thickness. Aim nails at a 45 degree angle.
Change Nailer Pressure for Different Rows Use less pressure on the last rows next to walls to prevent damage.
Fill in Gaps Use wood filler that matches the floor color for minor gaps before finishing.
Cut Boards to Fit
Measure and mark boards for accurate cuts around doors, pipes and irregular spaces. Make finish cuts with a table saw.
Install Transitions and Moldings Allow for expansion room under door jambs. Use T-molds between rooms and transitions where flooring ends.
Finishing and Maintenance
The final step is applying the right finish to protect your floors for years to come.
Let the Floor Acclimate
Allow the freshly laid floor a few days to adjust to the environment before finishing.
Sand and Prepare the Surface A smooth, debris-free surface allows finish to adhere evenly.
Apply Finish Appropriate for Your Floor Use water-based polyurethane for durability on low VOC sensitive floors. Oil-based works for traditional solid oak. Choose the sheen: matte, satin, semi-gloss or high-gloss. Apply 2-3 thin finish coats allowing drying between coats, sanding lightly between coats.
Allow Cure Time Before Use Give the finish up to 2 weeks to fully cure before regular foot traffic.
Protect Floors from Dents, Scratches Felt pads under furniture legs prevent dents. A doormat catches grit from shoes. Sweep and damp mop regularly. Reapply poly every few years.
With proper care, your beautiful new hardwood floors will provide lasting enjoyment for years to come! Let me know if you have any other DIY flooring questions.
Frequently Asked Questions
What’s the best wood species for pets and kids?
Oak and maple are good choices for active households since they resist scratching, dents and moisture.
Can I install hardwood over radiant heat floors?
Yes, just use engineered wood designed for radiant heat systems and follow specific nailing patterns.
Should I hire a professional or DIY my hardwood installation?
Pros have specialized tools and skills that lead to quality results. But DIY installs can save on labor costs with proper planning.
What’s the best way to soundproof a hardwood floor?
Using a thick underlayment foam can help absorb noise. Also try to isolate the floor from touching walls and use acoustical caulking.
How long does a hardwood floor installation take?
The installation process can take 2-5 days for the average sized room. Allow additional time for subfloor prep, acclimation and finishing.
Can I match new floors to my existing hardwood?
If it’s still available, buying from the same manufacturer batch helps match color and texture. Refinishing old boards first can also create a uniform look.
How can I fix scratches in my hardwood floor?
For surface scratches, a wood floor scratch pen fills in the blemish. Deeper gouges require sanding and refinishing the boards.
What are signs I need to refinish my hardwood floors?
Fading finish, worn out traffic patterns, and lack of luster are signs your current protective coat needs refreshing with a new finish application.
Is engineered or solid wood flooring more expensive?
Solid wood is generally more expensive due to higher material costs. But engineered wood can have a comparable price with the addition of labor.
Can I install hardwood floors in the bathroom?
With moisture protection like laminate coating and sealant at edges, you can install engineered wood suitable for bathroom use.
Conclusion
Installing hardwood floors allows you to add beautiful, durable wood flooring to your home while saving on installation costs. With proper planning, patience, and by following these tips, your DIY hardwood flooring project can be successful. Stick to the basics and don’t be afraid to ask for help when needed. Then you’ll be able to enjoy the satisfaction of floors installed with your own handiwork for years to come. Let me know if you have any other hardwood flooring questions!